You can group attributes together and work with them at the same time through the group. You can show values for all the attributes in a group on the POS. The order of attributes in the panel is defined by the attribute group.
An attribute can be assigned to multiple groups.
To Create Attribute Groups
-
-
Create a new attribute group.
-
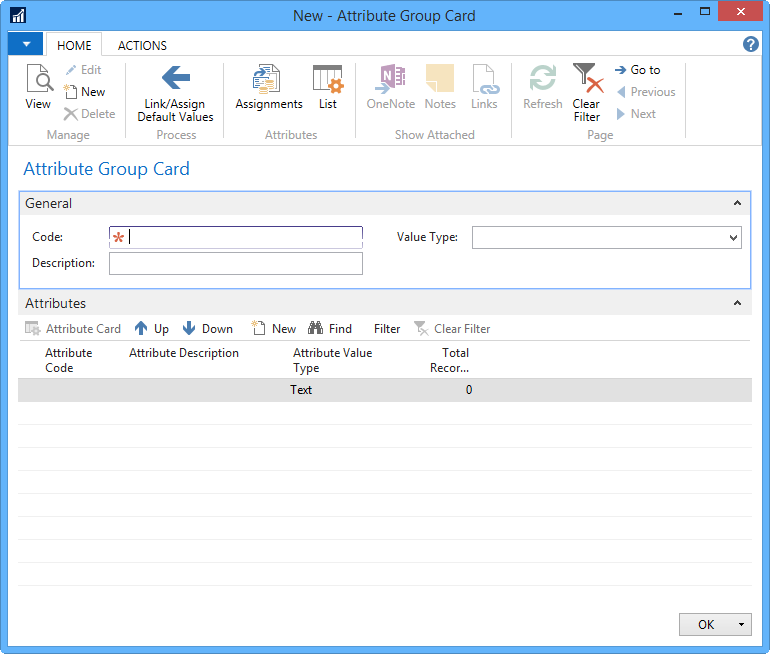
Fill in the fields on the General tab according to these guidelines:
Field Description Code This field contains the code that identifies the attribute group. You can use up to 20 characters. Description The description of the attribute group. You can use up to 50 characters. Value Type This field indicates which value type the attributes assigned to the group must be using. The options are: - No type specified - The attributes can have any value type
- Text
- Numeric
- Amount
- Date
- File
- Option Value
- Table Link
- Weighted Option
Assigning Existing Attributes to the Attribute Group
- On the Attributes tab on a new line, select the desired attribute in the Attribute Code field. If the attribute group has value type restrictions, only attributes with the group's value type appear in the look-up list.
- Repeat to assign more attributes to the group.
- Change the order of attributes if necessary by selecting one line and clicking Up and Down.
Note: The order of the attributes in this list determines the order of the attributes shown in panels on the POS.
Creating New Attributes and Assigning Them to a Group
- Go the Attributes page (you can open the page from the Attribute Groups and Attribute Group Card pages by selecting List on the action banner.
- Click New to create a new attribute, or select an attribute to use as a base for the new attribute and click Create New From.
- Set up the attribute as desired.
-
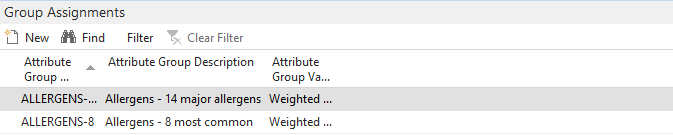
On the Group Assignments tab, select the desired attribute group in the Attribute Group Code field.
Automatically Linking Attributes in a Group to Records and/or Assigning Default Values
For all the attributes in a group with Automatic linking, you can link the attributes to records according to their attribute linking lines.
Note: Automatic linking is not possible for the Dim. Base Value link type.
Link/Assign Default Values for All Link Types
- On the action banner at the top of the Attribute Group page, click Link/Assign Default Values.
- If the attributes have a default value and there are attribute already linked to records, confirm whether or not you want the program to override existing values with default values. This is useful if you selected a wrong default value for the attributes or you extended the linking to set default values by item category and product group after you ran this function.
- The next confirmation tells you exactly how many records will be affected by running the function. Confirm the question.
- Press OK for the final message.
Assigning Attribute Values to Records
It is easy to assign attribute values to multiple records from the Attribute Assignments page.
- On the action banner at the top of the Attribute Group page click Assignments.
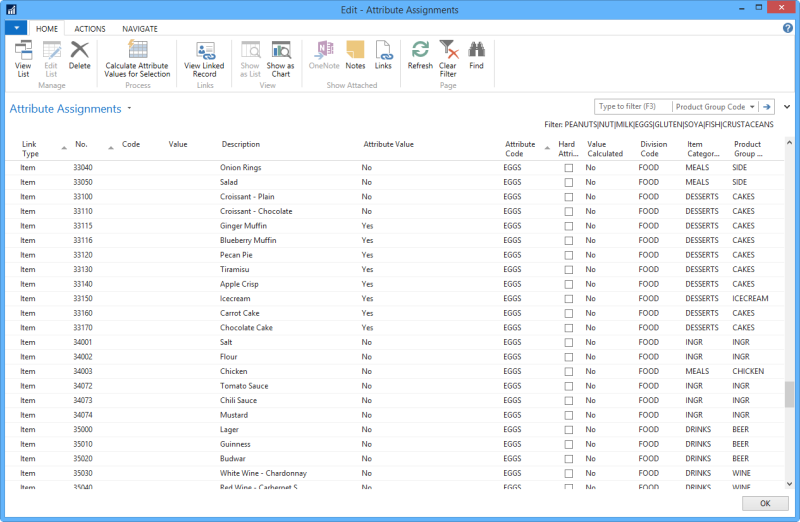
In this page you can:
- You can edit the Attribute Value field as is allowed for each attribute.
- You can filter on the Attribute Code field (the system however removes the group filtering at the same time).
- You can filter on the grouping fields for item and variant link types.
- You can filter on the No. field.
- You can also edit hard attributes in this page. The Item, Store and Extended Variant Values tables will be updated accordingly.
- You can view the page for the record that is linked to the entry by pressing View Linked Record.